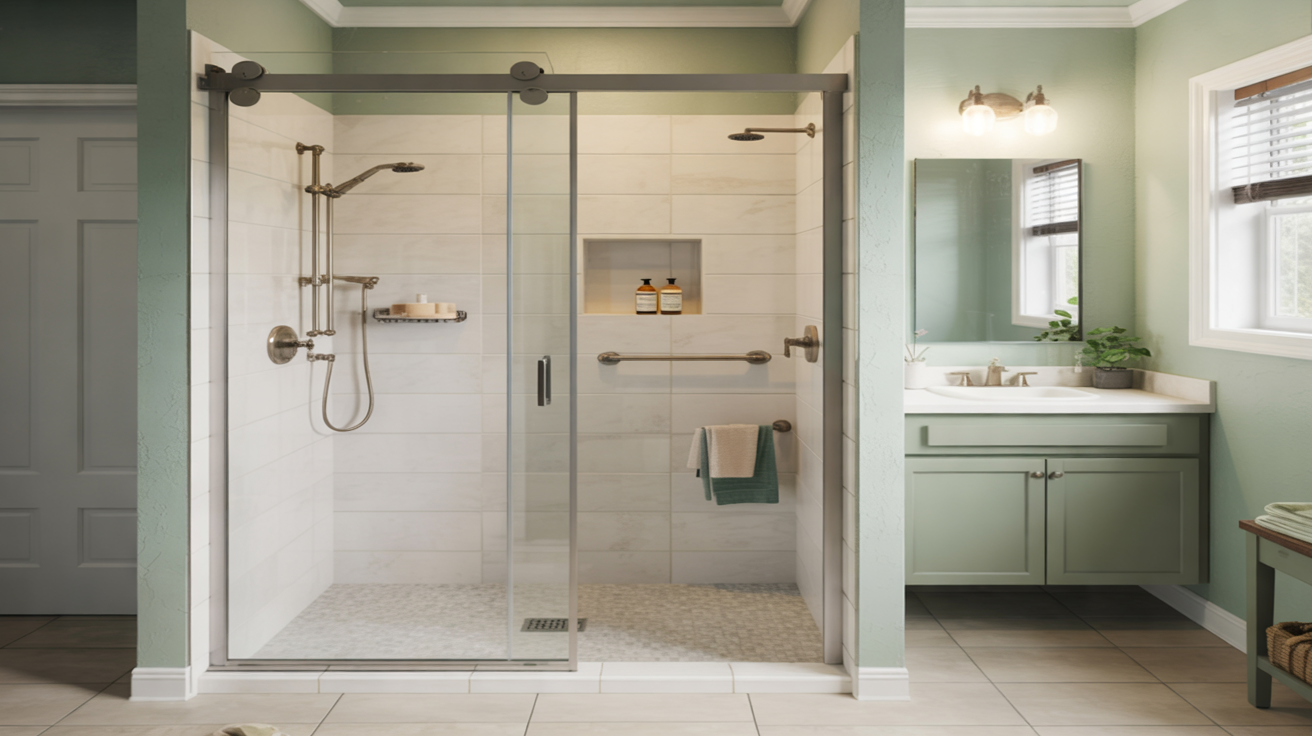
If you are planning a shower replacement in Palm Bay, having a clear, step-by-step checklist keeps your project on schedule, on budget, and up to code. Use this guide as a practical roadmap from the very first idea through the final wipe-down of your new shower.
1. Decide What You Want from Your New Shower
Before you look at products or call contractors, define your goals. This helps you make faster decisions and avoid costly changes mid-project.
Clarify your priorities
- Fix leaks, mold, or damage
- Update an outdated style
- Improve accessibility and safety
- Gain easier cleaning and better durability
- Increase home value before a sale
Write your top three priorities down and refer to them as you make choices about layout, materials, and fixtures.
Choose shower type and layout
Decide whether you want a straight replacement or a larger layout change. For more detail on options, you can review Types of Replacement Showers: Walk-In, Tub-to-Shower, and More.
- Direct shower replacement: Same footprint, updated walls, base, and fixtures.
- Tub-to-shower conversion: Remove a tub and install a walk-in shower in its place.
- Low-threshold or barrier-free: Easier entry for aging in place or mobility needs.
2. Set a Budget and Explore Financing
Next, decide how much you’re comfortable investing and how you’ll pay for it.
Key budget items to consider
- Demolition and disposal of the old shower
- New shower base or pan
- Wall systems (acrylic, fiberglass, tile, solid surface, etc.)
- Glass doors or curtain hardware
- Plumbing fixtures and any relocation of plumbing lines
- Waterproofing materials and labor
- Repairs to underlying framing or subfloor if damage is uncovered
For a deeper planning breakdown, see the Shower Replacement Cost Guide.
Financing and payment options
If you prefer not to pay all at once, you may want to research financing or home improvement loans. To get familiar with typical options, read Affordable Shower Remodel Financing Options and Shower Replacement Financing FAQs.
3. Plan Your Timeline
A shower replacement affects your daily routine, especially in homes with only one bathroom.
Checklist for scheduling
- Confirm how long demolition and installation should take.
- Ask how long materials will take to arrive before scheduling work.
- Plan alternative bathing options if needed during downtime.
- Avoid booking during major family events or holidays.
For timing expectations, review How Long Does a Shower Replacement Take? and the Shower Replacement Timeline and Planning Worksheet.
4. Choose Materials, Fixtures, and Features
Your material choices affect durability, maintenance, appearance, and cost.
Walls and base
- Compare acrylic vs tile showers for cleaning and style preferences.
- Look into mold and mildew resistant shower materials, especially in humid Florida.
- Decide on a low-threshold or barrier-free base if mobility or aging in place is a concern (see Low-Threshold and Barrier-Free Showers for Accessibility).
Doors, glass, and privacy
Decide whether you prefer glass doors or a curtain, and consider privacy vs openness. For pros and cons, see Choosing Shower Doors vs Shower Curtains After a Replacement and Custom Shower Designs: Doors, Walls, and Bases.
Plumbing fixtures and efficiency
- Upgrade to modern mixing valves and pressure-balanced controls.
- Choose low-flow but comfortable showerheads for water savings (see Energy-Efficient and Water-Saving Shower Fixtures).
- Decide if you want additional control valves, body sprays, or hand showers.
For behind-the-wall decisions, explore Plumbing Upgrades to Consider During Shower Replacement.
Safety and comfort features
- Non-slip flooring and textured bases
- Grab bars and secure blocking in walls
- Shower seats or built-in benches
- Recessed niches for shampoo and soap
For more ideas, see Non-Slip and Safety Features for New Showers and Luxury Shower Upgrades: Rainfall Heads, Niches, and Benches.
5. Decide: DIY or Professional Installation
The right choice depends on your skills, time, and risk tolerance.
DIY readiness checklist
- Comfortable with plumbing and waterproofing details
- Access to the right tools for demolition, cutting, and installation
- Understanding of local codes and permit requirements
- Backup plan if hidden damage or mold is discovered
If you’re unsure which route to take, compare pros and cons in DIY vs Professional Shower Replacement.
If hiring a contractor
Use a written list of questions when you interview companies. A helpful starting point is Hiring a Shower Replacement Contractor: Questions to Ask. You can also learn more about the local service focus on the About page.
6. Prepare Your Bathroom for Installation Day
Good preparation makes installation smoother and faster.
Day-before checklist
- Clear all toiletries, shower caddies, and curtains from the existing shower.
- Remove pictures and fragile items from adjacent walls.
- Protect nearby furniture or rugs along the path from the entry to the bathroom.
- Confirm access, parking, and work hours with your installer.
For a more detailed prep plan, visit How to Prepare Your Bathroom for a Shower Replacement.
7. Oversee Demolition, Waterproofing, and Installation
Even when professionals handle the work, knowing what should happen at each step helps you spot issues early.
During demolition
- Confirm that old materials are fully removed down to solid framing and subfloor.
- Have the team check for moisture damage, rot, or mold.
- Discuss any necessary repairs before moving forward.
Waterproofing and leak prevention
- Ensure waterproofing products are applied according to manufacturer instructions.
- Confirm seams, corners, and penetrations (like valve openings) are properly sealed.
- Ask whether a flood test or leak test is performed before finishing surfaces.
For more insight into this critical step, see Waterproofing and Leak Prevention in Shower Replacement and Common Shower Replacement Problems and How to Avoid Them.
Final installation details
- Verify the base is level and securely set.
- Confirm wall panels or tile are solid, even, and properly sealed.
- Check door operation, alignment, and smooth closing.
- Test all fixtures for correct temperature, pressure, and drainage.
8. Confirm Warranties and Documentation
Before your installer leaves, collect all paperwork related to your new shower.
- Manufacturer warranties for the base, walls, glass, and fixtures
- Labor warranty details from the installer
- Care and maintenance instructions
- Any permit sign-offs or inspection records, if applicable
To understand what typical coverage looks like, see Shower Replacement Warranties and What They Really Cover.
9. Learn How to Care for Your New Shower
Proper cleaning and maintenance preserve your investment and keep your shower looking new.
Post-install checklist
- Wait the recommended time before using the shower so caulk and grout can cure.
- Use non-abrasive cleaners approved for your specific materials.
- Wipe down glass and walls regularly to reduce spotting and soap scum.
- Check caulk lines and seals periodically and refresh them as needed.
For detailed guidance, visit Post-Installation Care and Cleaning for New Showers.
10. Special Considerations: Accessibility and Small Bathrooms
Your checklist may include a few additional items depending on your household and layout.
Aging in place and mobility needs
- Plan grab bar placement and blocking before walls are closed.
- Choose a low-threshold or curbless entry for easier access.
- Consider hand-held showerheads and seats for safe, seated bathing.
For more ideas, see Shower Replacement for Aging in Place.
Small bathroom layouts
- Use clear glass doors to make the room feel larger.
- Choose space-saving doors (like sliding doors) in tight spaces.
- Maximize built-in storage niches to reduce clutter.
Find more space-smart solutions at Small Bathroom Shower Replacement Ideas.
FAQs About Using This Shower Replacement Checklist
Do I need permits for a shower replacement?
Permit requirements vary by municipality and by how extensive the work is. Any project that moves plumbing lines, modifies structural framing, or changes electrical should be reviewed with local building authorities. Professional installers typically handle permits and inspections as part of the job.
Can a shower really be replaced in one day?
Some projects can be completed in about a day, especially when using prefabricated systems and keeping the same layout. The availability of one-day installation depends on your existing conditions and design choices. Learn more at One-Day Shower Replacement: What to Expect.
Where can I find more planning resources?
For additional guides, comparisons, and planning tips, visit the Blog and Shower Replacement FAQs page.